
I have always been a classic manicure girl. I tried gel and powder gel at the salon and just didn’t understand all the hype surrounding it. My natural nails grew in quickly and I found it so annoying to remove gel polish. I am also a big fan of Olive & June/Essie Gel Couture polishes and have been able to have my regular manicures last at least a week if I am willing to touch up small parts of my nails.
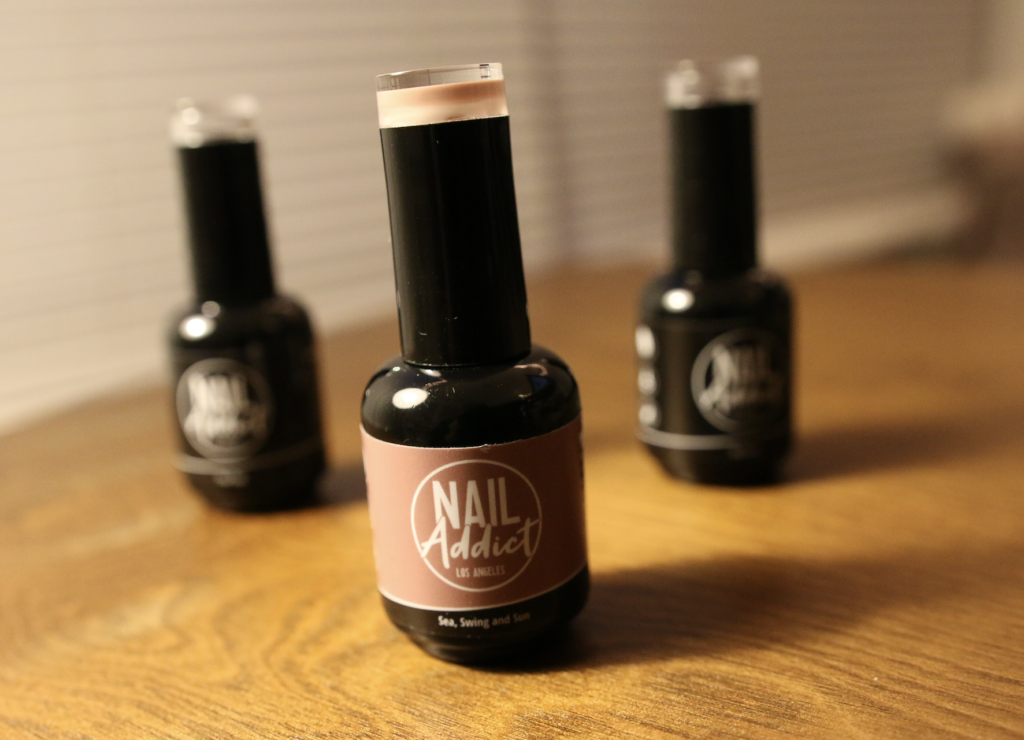
This is why I was hesitant when Nail Addict (Shop with that link for 45% off, use the code NINA. This code won’t work if there is already a sale on the website.) reached out and offered to send me some gel polishes to try out. I don’t think anyone is opposed to trying out fun new nail colors, but I had already decided that I was a plain manicure gal.
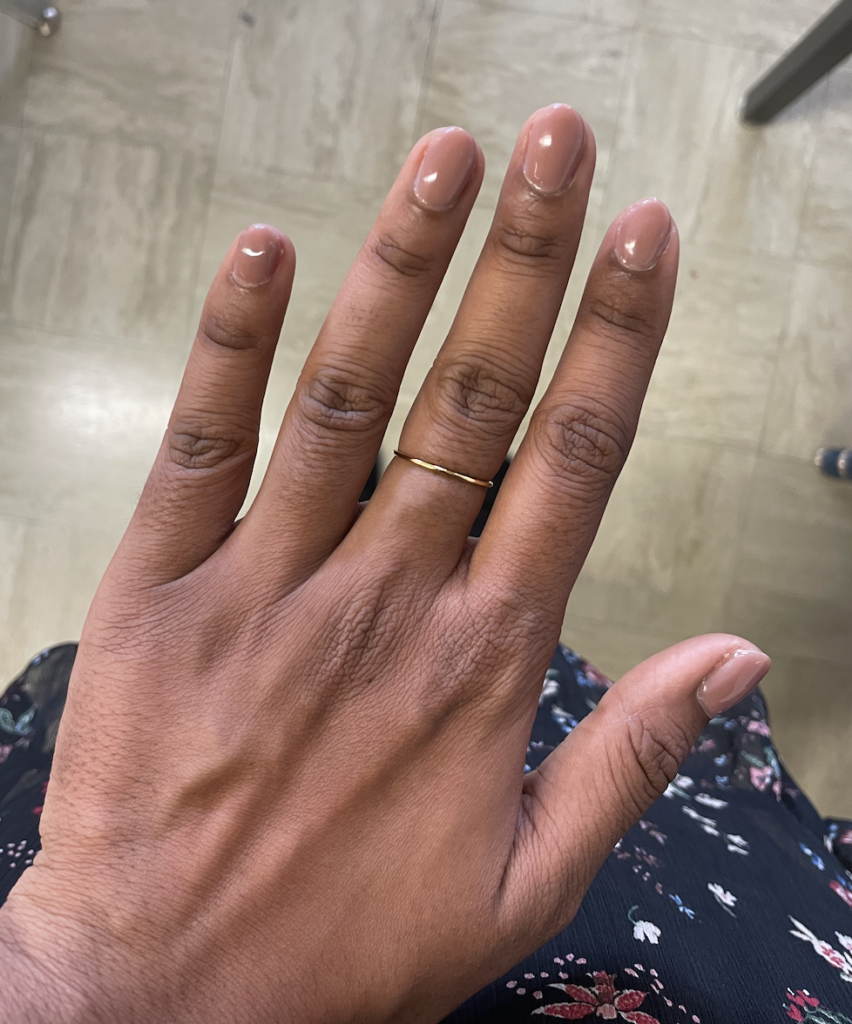
Friends, boy was I wrong. Though I’m still skeptical of gel polish as a permanent solution to having my nails done because of the potential damage it may do, I do think I prefer the look and ease of having help nails compared to regular nail polish and see myself applying gel at home more often. Nail polish can take 24 hours to dry but gel polish dries right away with a UV nail lamp. There is also nothing that compares to how glossy a finished gel manicure looks like.
I have been asked if my regular polish is gel, once I actually applied gel for myself, I was in awe of how may nails could constantly look so shiny and put together. My nails will also always chip with regular polish, even if it’s just a little chip.
Here are the steps that I took as a total gel polish novice in doing my nails at home.
The specific base coat I used from Nail Addict was super glossy. It did bumble up a little under my pinky but this was not really noticeable.
This is where things get hard. The consistency of gel polish can vary brand to brand and for Nail Addict, their gel polish was very thick. I have heard of people using machines that shake gel polishes to help with this. I was able to work with it but it was harder to apply that regular polish. They are also more pricey than brands that I have purchased on Amazon but I think comparing the size and when using coupons, their prices are pretty fair considering the quality of the product and color selection.
I’m still new to the world of gel polish so I’m not sure if Nail Addict is pricey for what it is. You can find cheaper UV lamps on Amazon with good reviews but I find the quality of Nail Addicts polishes to be really great compared to the limited polishes I’ve tried from other brands. I ordered a few gel polishes on Amazon and they did not dry as quick with my UV lamp that Nail Addict provided me.
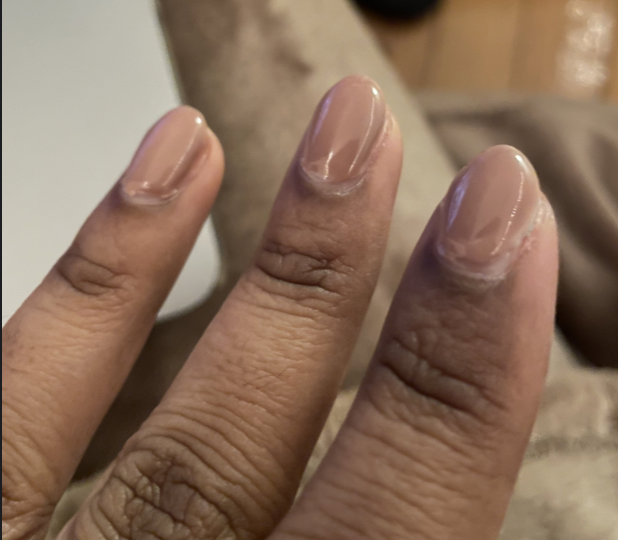
After a week, and a full day at spa lounging by the pool, my gel polish did bubble. I was actually able to easily peel off all my gel polish myself. I thought this was still pretty good since my friends with traditional nail polish pretty much lost all their existing polish while in the water for so long.
Best of luck in all your manicure endeavors!

FTC: Not sponsored. Some of the above links are affiliate links, meaning I earn a small percentage of sales made via those links, but it doesn’t cost you anything extra!